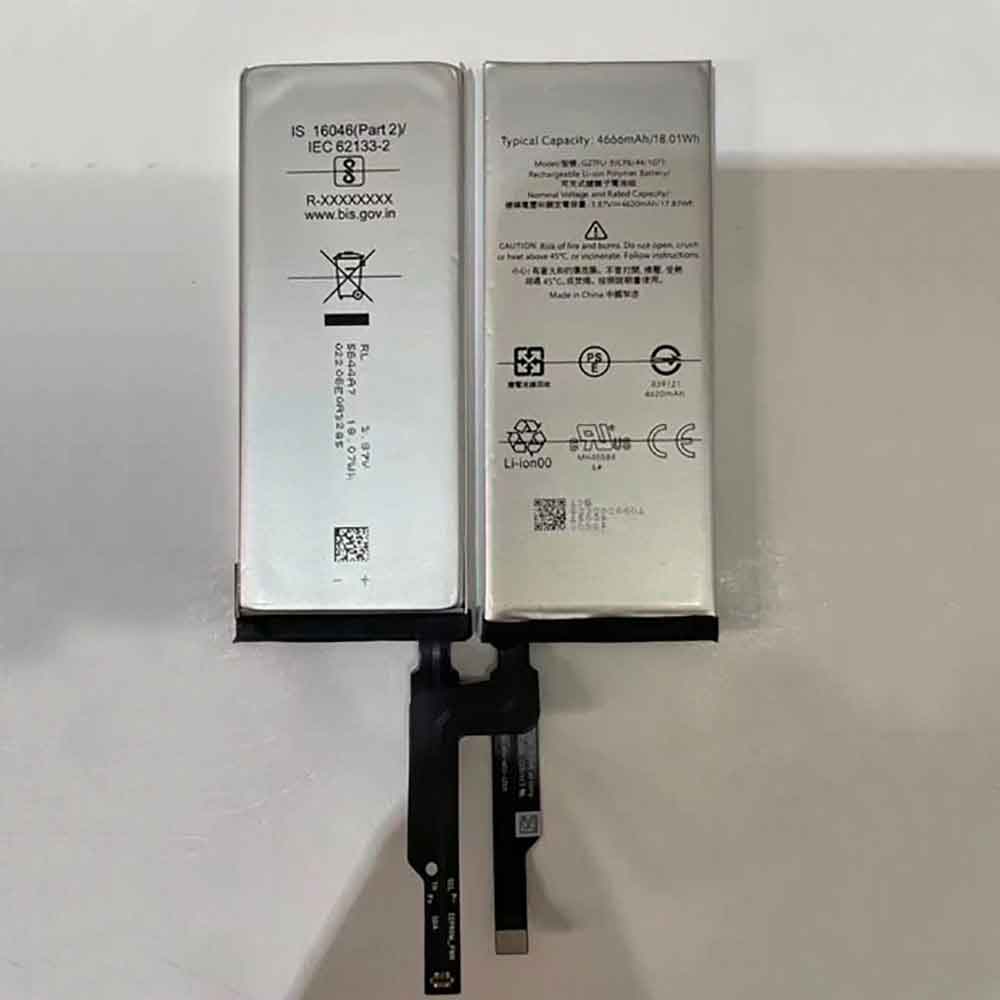
2700mAh/10.39WH 3.85V/4.4V Google G011A-B Batteries for Google Pixel 2, Google G011A-B Cell Phone battery is a brand new,100% Compatible original and replacement Phone battery,Purchase wholesale and retail G011A-B with high quality and low price!
Find ou your original model number or part number(P/N), and move your eyes on the tag of battery
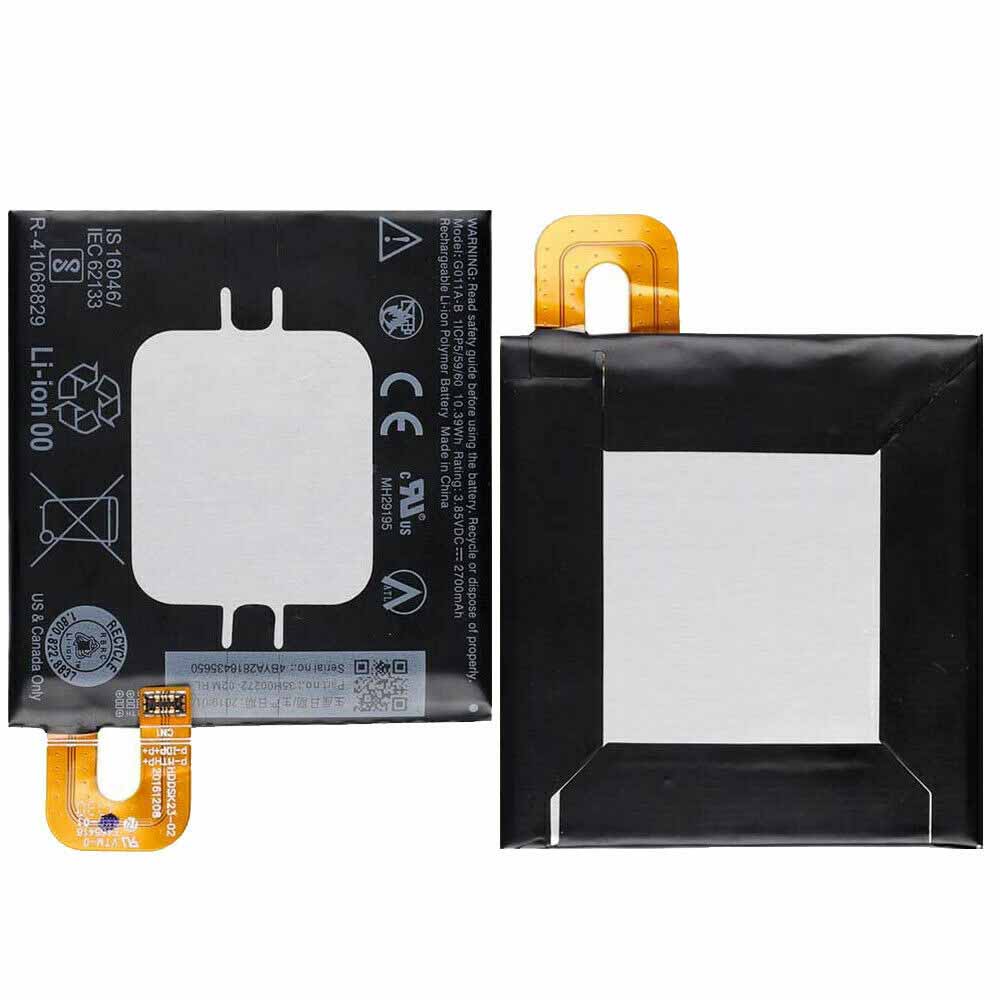
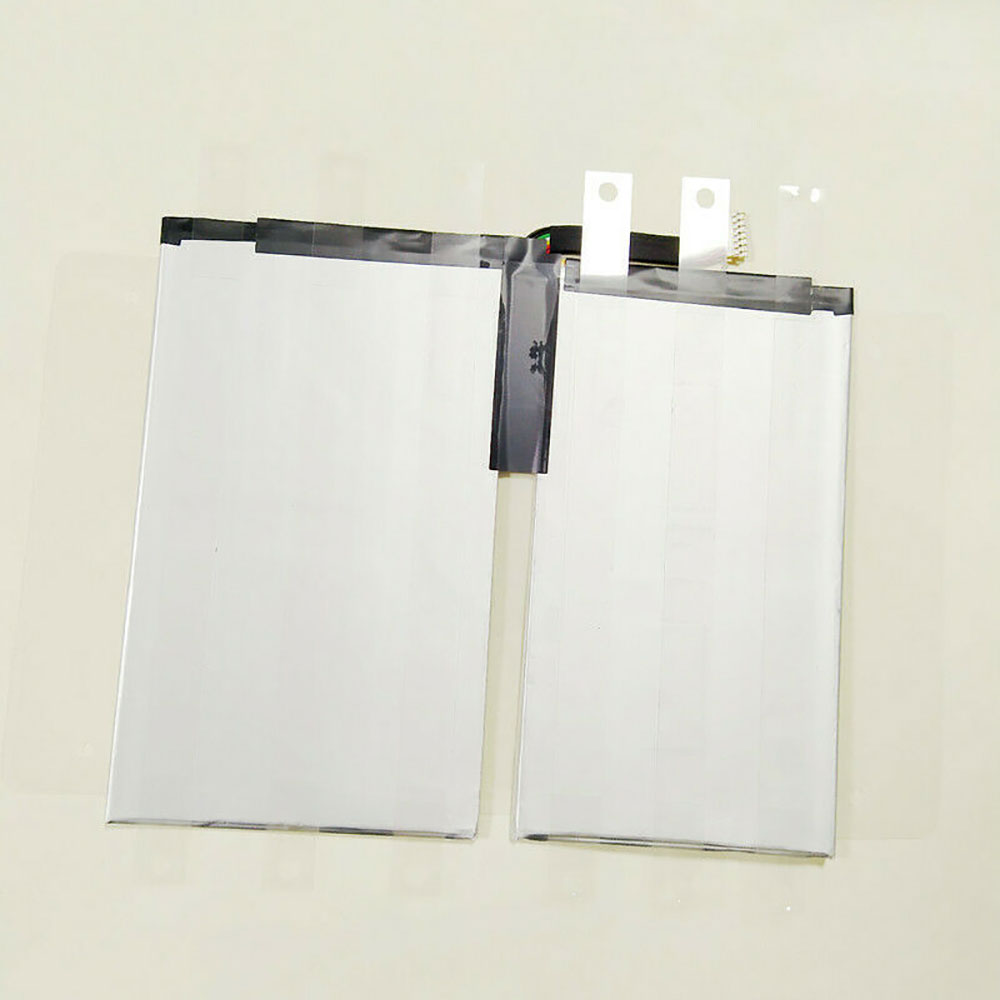
Specifications
- Brand:Google
- Capacity :2700mAh/10.39WH
- Voltage :3.85V/4.4V
- Type :Li-ion
- Battery Cell Quality: Grade A
- Descriptive: Replacement Battery – 1 Year Warranty
- Description: Brand New, 1 Year Warranty! 30-Days Money Back! Fast Shipping!
How we test this Google G011A-B Battery
Step 1: Make sure customer bought the correct battery.
Step 2: Check battery’s appearance and interface.
Step 3: Test battery charger and recharger function.
Step 4: Charger the battery to 100% and recharger to 0% to get real battery capacity
Step 5: Use Ev2300 to check the voltage difference of each goroup cells.
Step 6: Charger battery power more than 30%.
Step 7: Package battery carefully and send out
Compatible Part Numbers:
G011A-B
Compatible Model Numbers:
Google Pixel 2
How much do you know about how to run laptop well as any place? The follow Tips cut way back on protecting battery life.
1). Please recharge or change your Cell Phone battery when battery power low.
2). Using Li-Ion Replacement Google G011A-B Cell Phone Battery for your notebook which can work longer time than Non Li-ion one.
3). It is better to defragmentation regularly for your Cell Phone battery life.
4). In order to reduce the laptop power consumpition, you can use some optical drive spin-down and hard drive in your Cell Phone .
5). Please keep your laptop in sleep or standby model without long time using, which both save the Replacement Google G011A-B Cell Phone Battery power and extend battery using life.
6). Leave your battery in a dry and cool condition when without using.
7). When you rarely or generally plugged in fixed power using, Please take down your battery to avoid hurting battery life.
Hot Products
4100mAh/62.32Wh GETAC GK5CN-00-13-4S1P-0 for GETAC GK5CN5Z GK5CN6Z GK5CN4Z930mAh/3.4Wh GARMIN 361-00035-01 for GARMIN Nuvi 2595LMT 1250 12556580mAh/25.333WH BLACKVIEW 726280P for Blackview BV6800 pro Phone1350mAh/4.995WH ALCATEL TLI013CA for Alcatel phone3310mAh/50WH FUJITSU FPB0338S for Fujitsu Lifebook E548 E558 T932800mAh/10.36WH INFOCUS P2424 for InFocus P242433Wh HP BV02XL for HP Envy X2 Detachable 13 Serie875mAh DJI HB3 for DJI Osmo Pocket 230.4Wh/4000mAh LG LBG722VH for LG Gram 14Z950 13Z940 13ZD9403575mAh/42WH LENOVO SB10J78991 for Lenovo ThinkPad Yoga 11E 3rd G